Breadcrumb
- Home
- Student Organizations
- Manage Your Organization
- Elections for New Officers
Elections for New Officers
Organization officers have the ability to create elections within their organization's portal in Campus Labs Engage, either for the entire community to vote on, or exclusive to specific organization members.
To create an organization-based election:
Step 1
To set up your elections, go to Engage and sign in.
Step 2
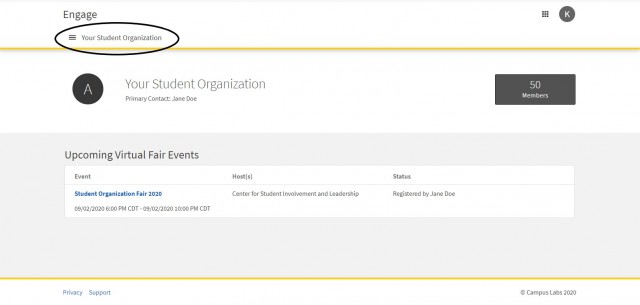
Click your student organization and click on the "Manage Organization" on the right of the page. When you get to "Manage Organizations" click on the hamburger menu (≡) and then click on Election. If you do not see this tool, either you do not have access to manage this tool for your organization. You can e-mail dsl-leadandserve@uiowa.edu for correct permissions.


Step 3
From here, click the Create Election button. Identify the Name of the election, if it should include instructions and any additional (custom) instructions that should be included.

Below that, you can choose the dates for your election should be active. When the election is set to "Active" and once it falls within the date range, members will be allowed to access the ballot.
You can also choose to display an alert on the organization homepage when the election is active and voting is open by checking the next box.
The last option is whether or not to allow users outside your organization should be allowed to vote in the election-- checking the box will limit it to only users within your organization roster.
When you're finished with these settings, hit "Create".
Creating the ballots
Step 1
You can create as many ballots as needed. Each ballot can be accessible to the general user population or any number of eligibility lists. A user will see each ballot they are designated to see. To start creating your ballots, click Create Ballot.

Step 2
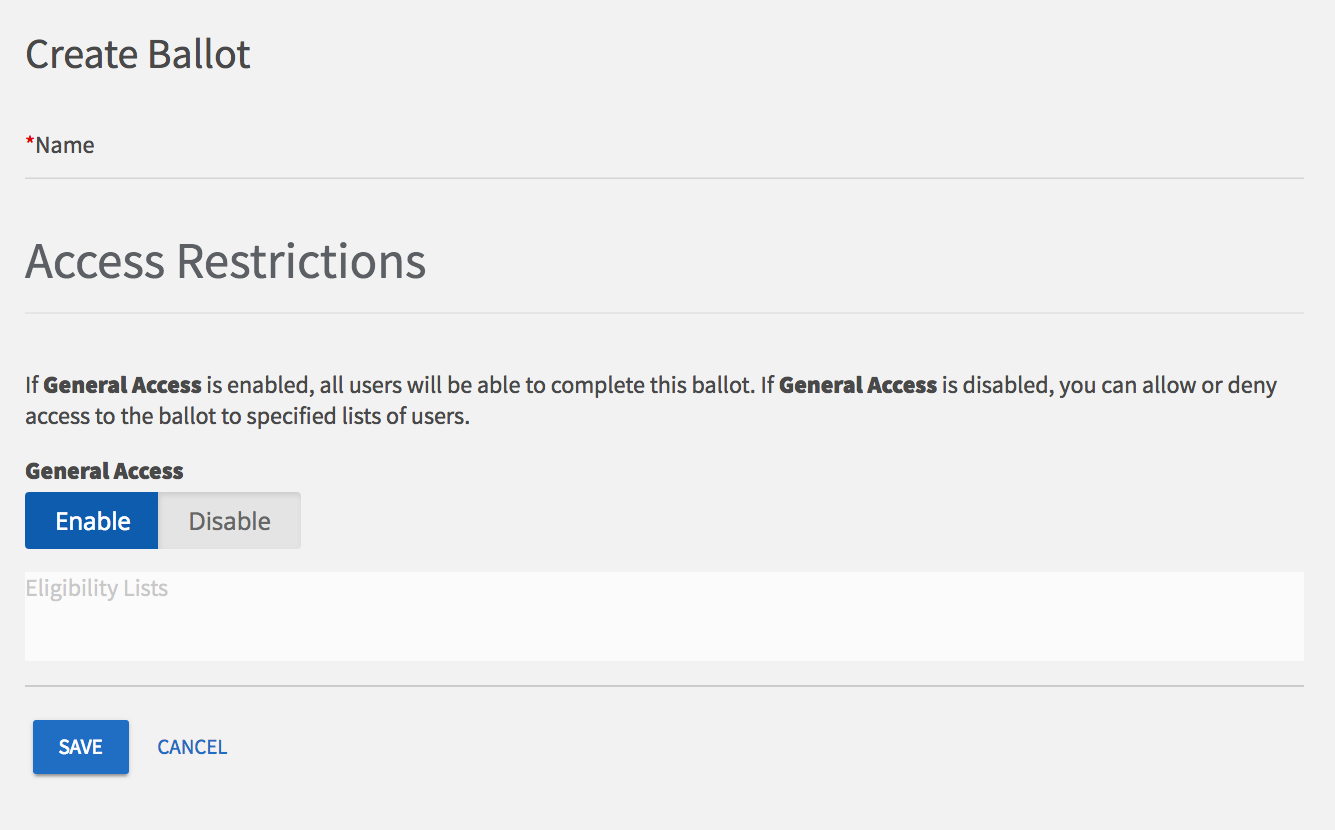
Enter the name of your ballot, then determine if the ballot should be open to general users on Engage by selecting Enable or Disable. If you select Disable, you'll be prompted to enter settings for each of the available eligibility lists such as for members only.
Eligibility lists are set up by campus administrators and are shared with organizations. If you are not seeing an eligibility list that you expect to see, contact your campus administrator.
Step 3
Once you're fine with your eligible members' access, click "Create"to move to the next page. You'll now be taken to the form builder with question types. You can use the Form Building for complete instructions on creating/editing election questions. The builder will automatically save your progress as you create questions. At any time, you can revise the title and access your ballot by clicking Form Properties in the upper right corner
Step 4
When you're finished, click "Back to Ballots"in the upper left corner. Repeat Steps 1-3 to create any additional ballots. Once all your ballots are ready, be sure to set your election to Active to allows members can vote once the election starts, and the prompt to vote will display on your organization's homepage, if requested.